AutoML with AWS Sagemaker Autopilot
10 Oct 2020 by dzlab
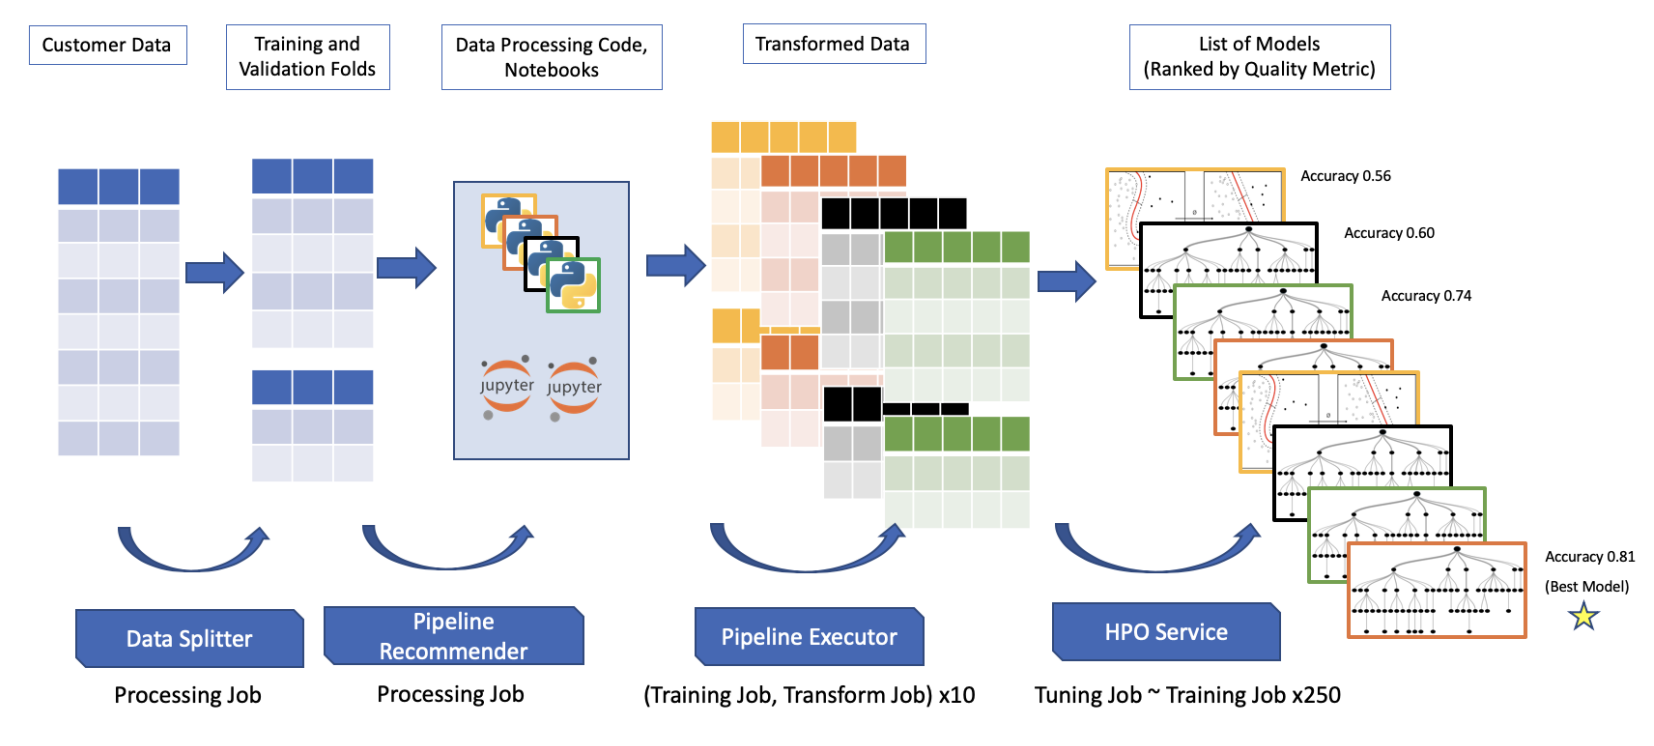
Amazon SageMaker Autopilot is a service that let users (e.g. data engineer/scientist) perform automated machine learning (AutoML) on a dataset of choice. Autopilot implements a transparent approach to AutoML, meaning that the user can manually inspect all the steps taken by the automl algorithm from feature engineering to model traning and selection. For more technical details on Autopilot approach to AutoML, have a look at this Amazon Science Publication.
Autopilot can be used through the UI or via AWS SDK. The following example shows how to use the AWS SDK to create and deploy a machine learning pipeline.
Job setup
First, make sure data is uploaded to S3 in a format compatible with Autopilot (e.g. CSV files with headers). Then store the S3 bucket and prefix to use to train our model. Also make sure to use an IAM role that has access to the training data.
import boto3
import sagemaker

sess   = sagemaker.Session()
bucket = sess.default_bucket()
role = sagemaker.get_execution_role()
region = boto3.Session().region_name

# Create a SageMaker client
sm = boto3.Session().client(service_name='sagemaker', region_name=region)
Job launch
Second, start an Autopilot job by providing:
- Data configuration: location of training data, label column, etc.
- Job configuration: duration of training, where to store artifcats, etc.
# Configure Autopilot job: training time, number of candidate models, etc.
job_config = {
  'CompletionCriteria': {
    'MaxRuntimePerTrainingJobInSeconds': 600,
    'MaxCandidates': 3,
    'MaxAutoMLJobRuntimeInSeconds': 3600
  },
}

# Configure input location of CSV training data and label column name
input_data_config = [{
  'DataSource': {
    'S3DataSource': {
      'S3DataType': 'S3Prefix',
      'S3Uri': 's3://path/to/train/data/'
    }
  },
  'TargetAttributeName': '<label_column_name>'
}]

# Configure output location for the Autopilot-Generated Assets
output_data_config = {
  'S3OutputPath': f's3://{bucket}/models/autopilot'
}

# Launch a SageMaker Autopilot Job
sm.create_auto_ml_job(
  AutoMLJobName    = 'auto_ml_job',
  InputDataConfig  = input_data_config,
  OutputDataConfig = output_data_config,
  AutoMLJobConfig  = job_config,
  RoleArn          = role
)
Job tracking
After submitting the Autopilot job we can track its progress using describe_auto_ml_job() but first we need to understand what are the different stages of an Autopilot job and their mapping in the response of this method.

From a high-level a SageMaker Autopilot job run throught the following steps:
- Data Analysis this is where the data get summarized and analyzed to determine which feature engineering techniques, hyper-parameters, and models the job should explore.
- Feature Engineering this is where data pre-processing is performed, e.g. balancing data, and spliting the datasets into train and validation, etc.
- Model Training and Tuning this is where the top performing features, hyper-parameters, and models are selected and trained.
To get information about a job use describe_auto_ml_job() as follows:
job = sm.describe_auto_ml_job(
  AutoMLJobName = 'auto_ml_job'
)
print(job)
The returned response is a very complex JSON, it ranges from job metadata (e.g. creation time) to the ML problem it is training for (e.g. classification). Full documentation of the response can be found here.
The interesting keys to look for when tracking the progress of an Autopilot job are:
AutoMLJobStatuswhich tells the status of the job: InProgress, Completed or Failed.AutoMLJobSecondaryStatustells what step the job is currently performing: AnalyzingData, FeatureEngineering, ModelTuning, etc.
To be continued.