


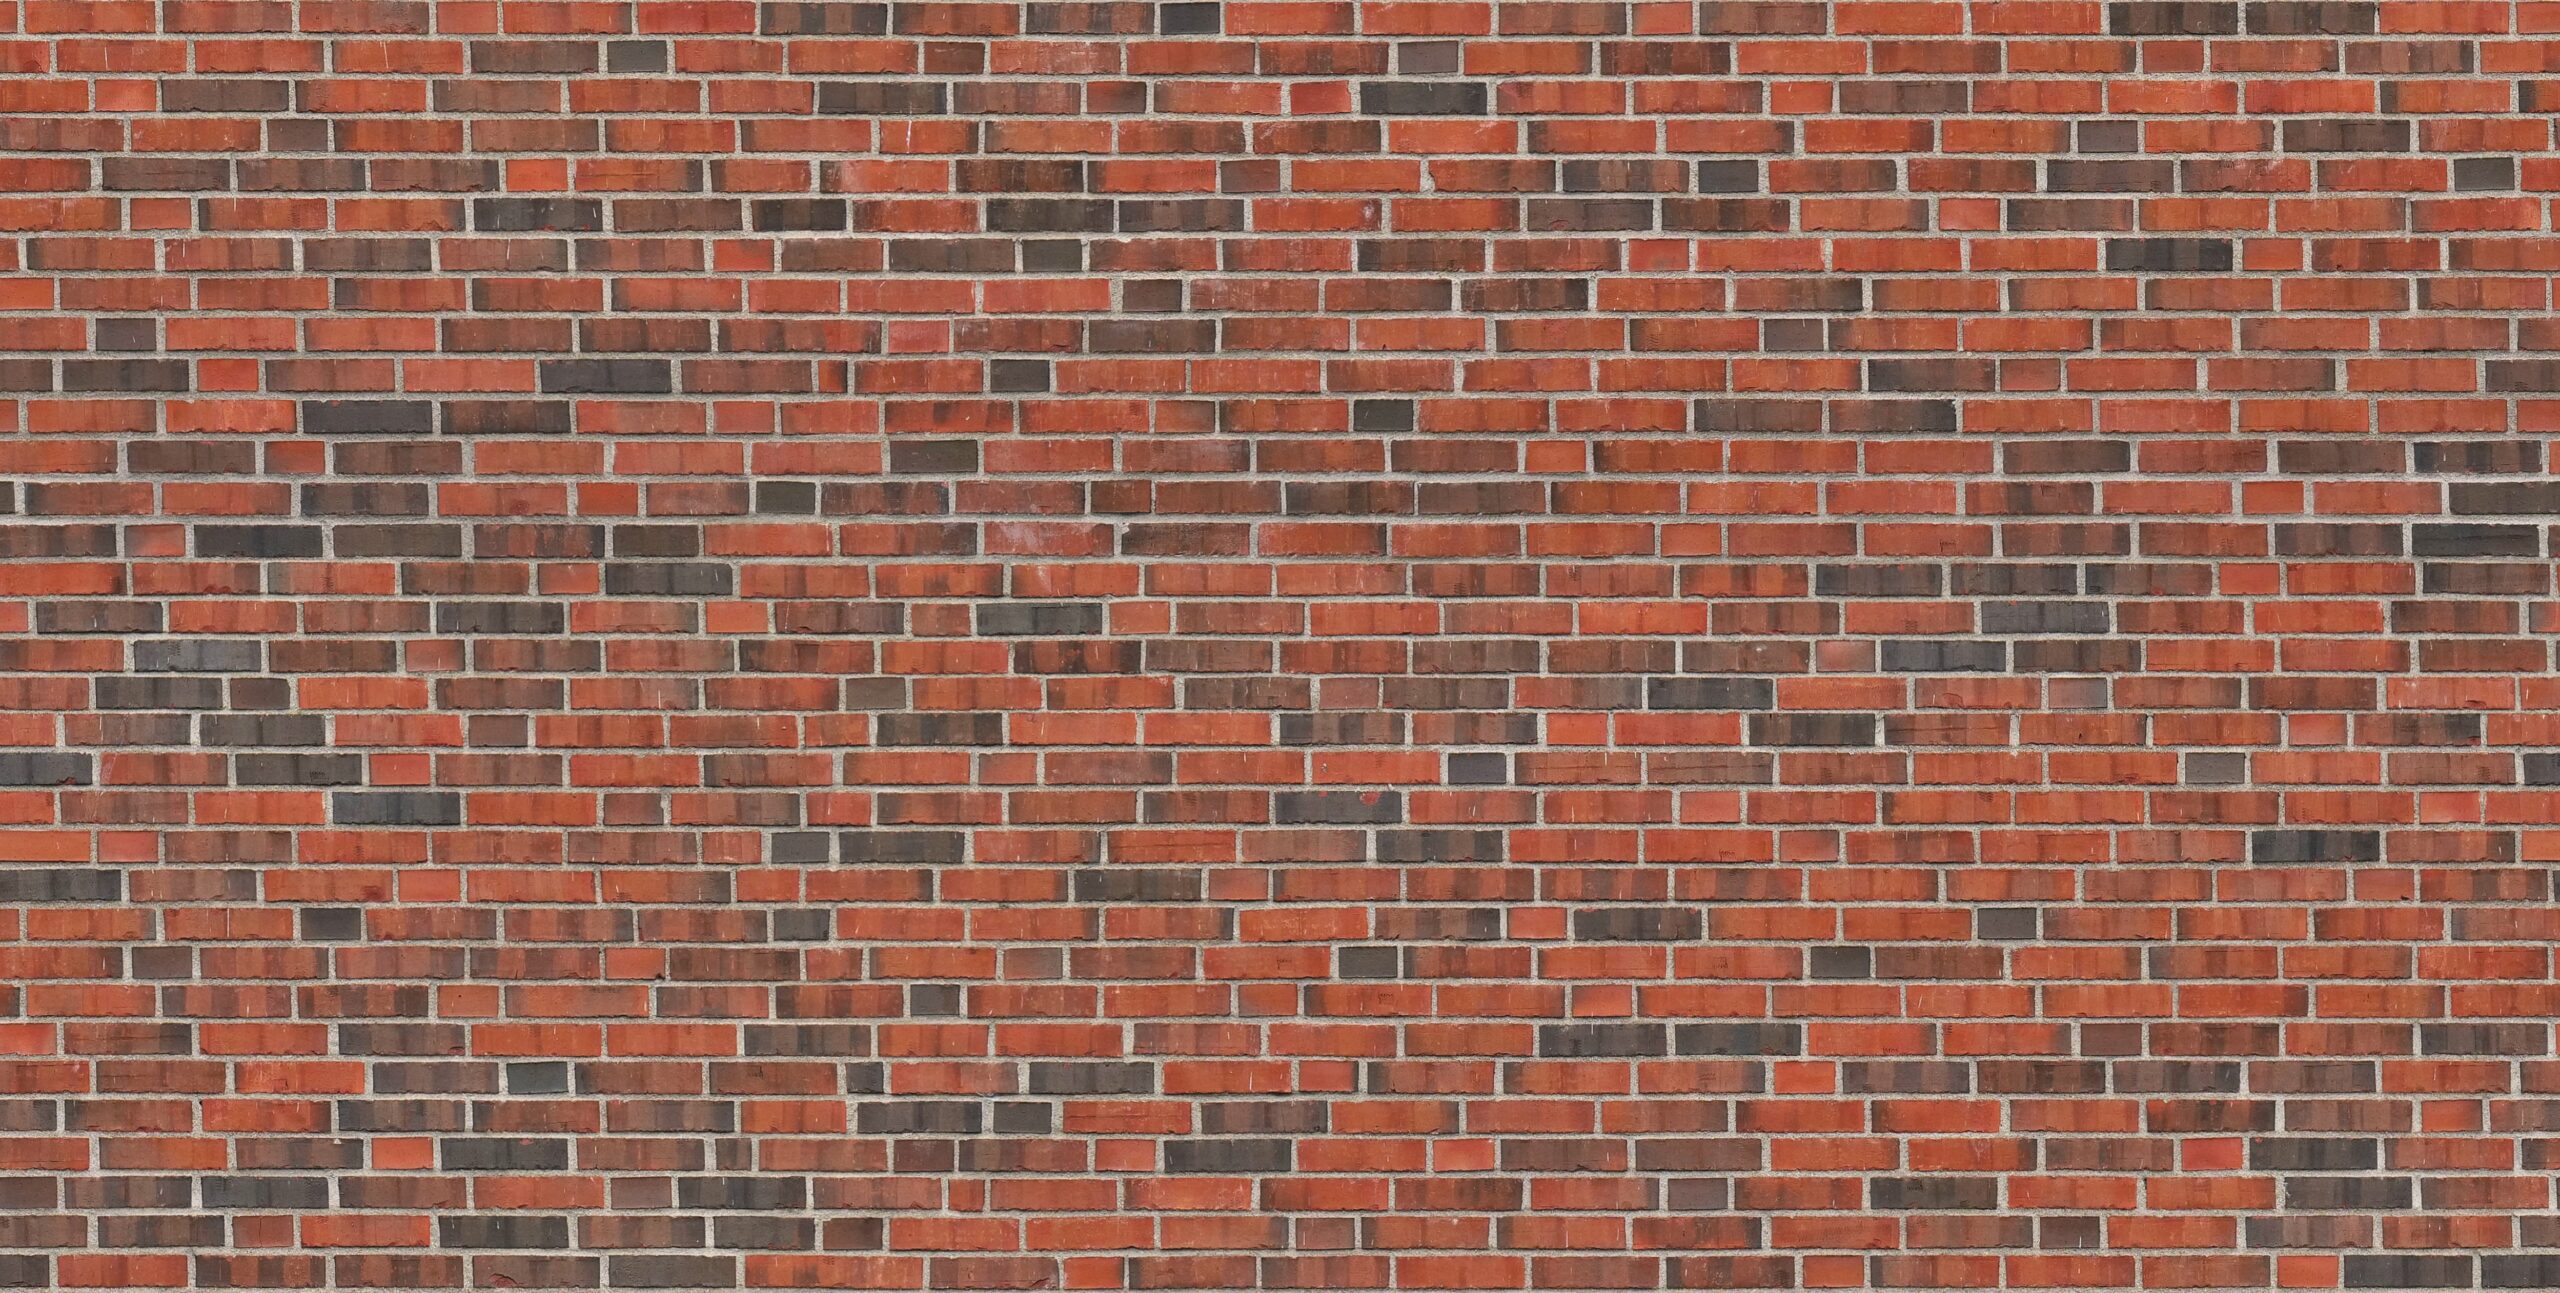
 Seamless Texture example of Red Brick Wall (image source: Tiling Textures)
In a previous article, we saw how to use the Text In-painting pipeline to edit images by locating and replacing objects using their text description. We also saw in another article, how to use the simple In-painting pipeline to create panormic views. In a continuation to the in-painting serie, we will see in this article how to use the In-painting pipeline to make a Seamless Texture out of a simple image.
But what is a Seamless Texture? A Seamless Texture is a photograph of something like that can be repeated as many times as needed without any breaks or seams, each corner of the image must be able to meet up and match perfectly with the other (read more). The above picture of a brick wall is a typical example of a Seamless Texture.
First, we need to install the dependencies.
%%capture
%%bash

pip install --upgrade accelerate diffusers transformers
Second, accept the term of Stable Diffusion model to be able to download it form Hugging Face.
!huggingface-cli login
Import needed modules
import random
import numpy as np
from PIL import Image, ImageDraw
import matplotlib.pyplot as plt
from tqdm.auto import tqdm
import torch
from diffusers import StableDiffusionPipeline, StableDiffusionInpaintPipeline
Set seed for reproducibility
random.seed(123)
np.random.seed(123)
generator = torch.Generator(device="cuda").manual_seed(123)
You can use your own images, or why not use Stable Diffusion to generate them. Let's download the weights of CompVis/stable-diffusion-v1-4.
generate = StableDiffusionPipeline.from_pretrained(
    "CompVis/stable-diffusion-v1-4",
    use_auth_token=True,
    torch_dtype=torch.float16,
    revision="fp16",
).to('cuda')
To avoid out of memory issues, we use half precision and attention slicing which both are supposed to reduce the amout of memory needed by the pipeline.
generate.enable_attention_slicing()
# Parameters
num_images = 6
num_steps = 50
num_levels = 5
It is usually hard to get the prompt right from the first shot. I had to try couple of prompts to get something to work with, you can try something else or use your own image.
prompt = 'single flower, realistic, top view, full picture, wide, centered'
img = generate(prompt=prompt, num_inference_steps=num_steps, generator=generator).images[0]
Let's visualize the image before proceeding.
img.resize((128, 128))

To save on GPU memory, we remove the Stable Diffusion pipeline from GPU as we won't be using it later.
del generate
torch.cuda.empty_cache()
To create Seamless Texture from a simple image, we:
- Create a new image by splitting the original one into 4 squares and roll each square
- Create a mask where the centered will be in-painted
- Pass the new image and mask to the in-painting pipeline to fill in the gap
- Stack copies of the pipeline to create a Seamless Texture
First, let's create a helper function to roll an input image 50% vertical and horizontally and also create the mask for filling into the center
def circle_mask(input):
    w, h = input.size
    x = np.roll(np.roll(np.array(input), h // 2, 0), w // 2, 1)

    output = Image.fromarray(x)
    mask = Image.fromarray(np.zeros_like(x)[:, :, 0])

    draw = ImageDraw.Draw(mask)
    coords = [(w / 2, 0), (w, h / 2), (w / 2, h), (0, h / 2)]
    draw.polygon(coords, fill=255)

    return output, mask
img2, mask = circle_mask(img)
Let's plot the output of the previous function to better understand what it does
_, ax = plt.subplots(1, 3, figsize=(15, 4))
[a.axis('off') for a in ax.flatten()]
images = [img, img2, mask]
[ax[i].imshow(images[i]) for i in range(3)];
titles = ["original", "modified", "mask"]
[ax[i].text(0, -15, titles[i]) for i in range(3)];

Now we can create the in-painting pipeline by downloading the weights from runwayml/stable-diffusion-inpainting.
inpaint = StableDiffusionInpaintPipeline.from_pretrained(
    "runwayml/stable-diffusion-inpainting",
    torch_dtype=torch.float16,
    revision="fp16",
).to("cuda")
inpaint.enable_attention_slicing()
Then, we use the in-patinting pipeline to fill the center of our previously modified image.
img3 = inpaint(
    prompt=prompt,
    image=img2,
    mask_image=mask,
    num_inference_steps=num_steps,
    generator=generator
    ).images[0]
Let's visualize the output of the in-painting pipeline
img3

Then, we create a helper funciton to stack copies of an image horizontally and vertically to create a Seamless Texture
def combine_images_w(imgs):
    w = sum([x.width for x in imgs])
    h = imgs[0].height

    img = Image.new("RGB", (w, h))
    img.paste(imgs[0], (0, 0))
    w = imgs[0].width

    for k in range(1, len(imgs)):
        img.paste(imgs[k], (w, 0))
        w += imgs[k - 1].width

    return img

def combine_images_h(imgs):
    h = sum([x.height for x in imgs])
    w = imgs[0].width

    img = Image.new("RGB", (w, h))

    img.paste(imgs[0], (0, 0))
    h = imgs[0].height

    for k in range(1, len(imgs)):
        img.paste(imgs[0], (0, h))
        h += imgs[k - 1].width

    return img

def four_stack(img):
    row = combine_images_w([img, img])
    return combine_images_h([row, row])
Finally, we generate a Seamless Texture by applying the stacking helper function.
result = img3
for _ in range(num_levels):
    result = four_stack(result)
result.resize((512, 512))

del inpaint
torch.cuda.empty_cache()
That's all folks
In this article, we saw how Stable Diffusion can be used to create automatically generate Seamless Texture out of a random image. A task usually done manually but thanks to the in-painting pipeline we were able to automate it.
I hope you enjoyed this article, feel free to leave a comment or reach out on twitter @bachiirc.