


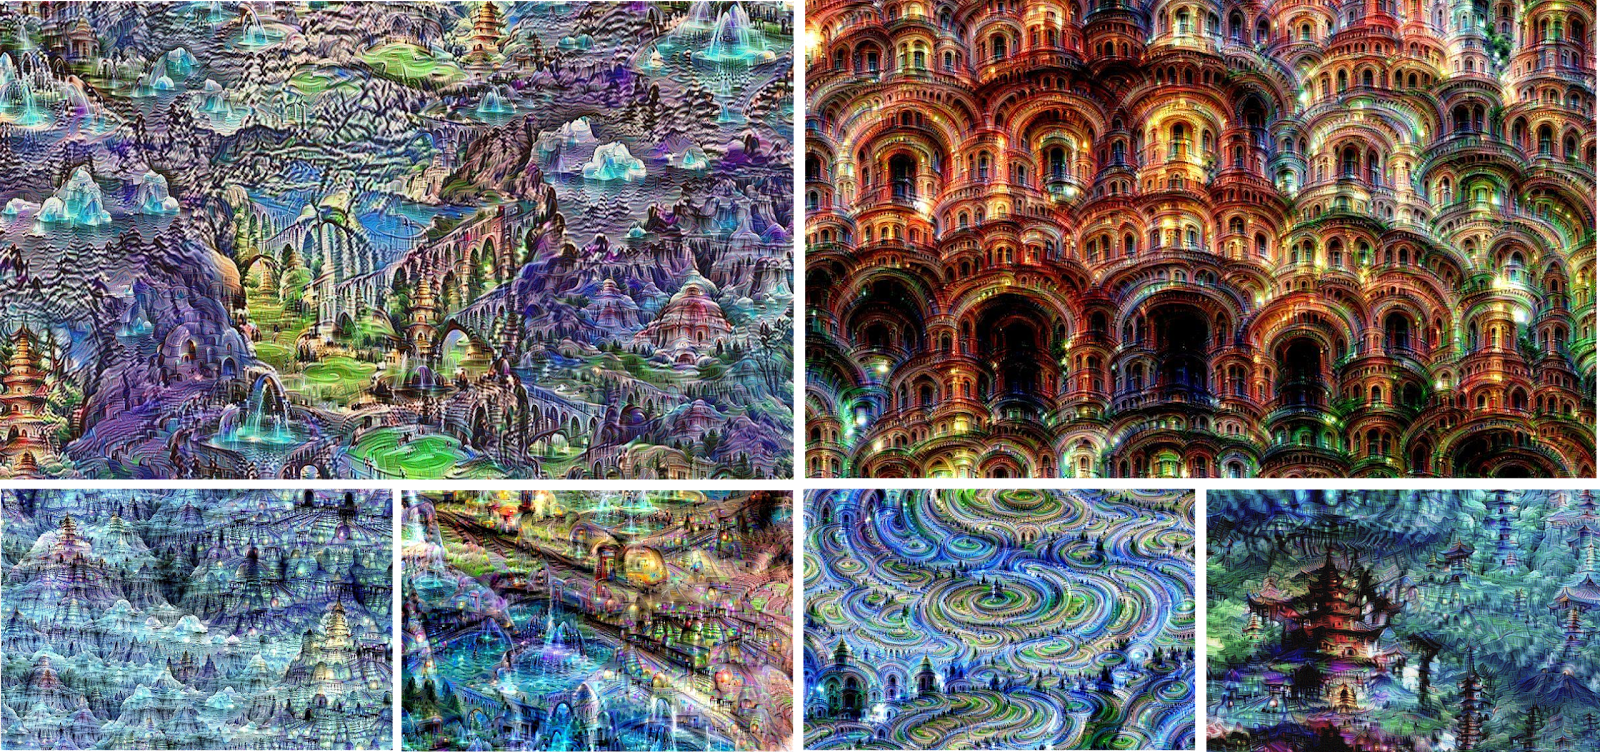
In an effort to understand the inners of deep neural networks and what information those models learn after been trained on a specific task, a team at Google come up with what's know today as DeepDream. The experiment results were interesting, it appears that neural networks trained to classify an image (i.e. discriminate between different classes) contains enough information to generate new images that can be artistic.
In this notebook we will implement DeepDream in Tensorflow from scratch and test it on couple of images.
The DeepDream model is simply built on a backbone model trained on imagenet and the output of the model will be few activation layers picked from this backbone model. Then we run an image through this model, compute the gradients with respect to the activations of those output layers, then modify the original image to increase the magnitude of the activations which as a result will magnify the patterns in the image.
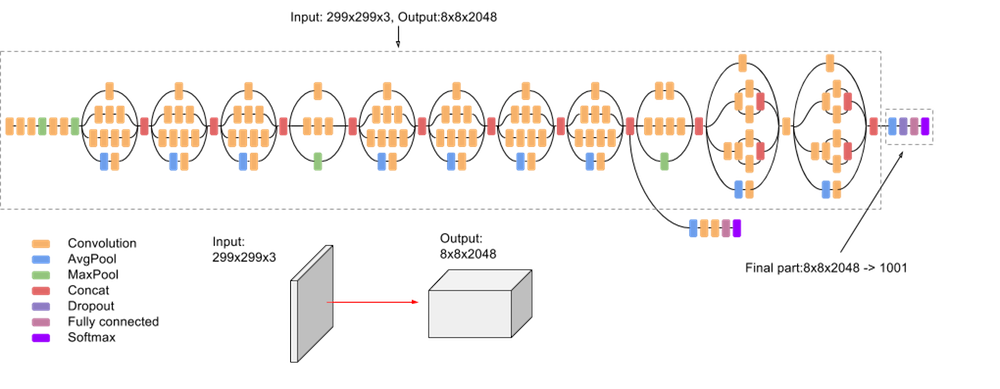
In our case, the backbone model is Inception V3 (which you can read more about it here). The following driagram shows an overview of this model architecture:
#collapse
import numpy as np
import tensorflow as tf
from tensorflow.keras import Model
from tensorflow.keras.applications.inception_v3 import *
from tensorflow.keras.preprocessing.image import *
from tqdm import tqdm
import matplotlib.pyplot as plt
To create the DeepDream model, we define the following helper function that uses InceptionV3 from TF Hub and uses the input layers as output of the model. Note that by default we are picking ramdom activation layers from the InceptionV3 model.
def create_model(layers=None):
    if not layers:
        layers = ['mixed3', 'mixed5']
    base = InceptionV3(weights='imagenet', include_top=False)
    outputs = [base.get_layer(name).output for name in layers]
    return Model(base.input, outputs)
We need to define few utils functions that we will use to process the images, for example scaling an image by a factor or converting tensor image into a numpy array.
def convert_tensor_to_nparray(image):
    image = 255 * (image + 1.0) / 2.0
    image = tf.cast(image, tf.uint8)
    image = np.array(image)
    return image

def scale_image(image, base_shape, scale, factor):
    new_shape = tf.cast(base_shape * (scale **factor), tf.int32)
    image = tf.image.resize(image,new_shape).numpy()
    image = preprocess_input(image)
    image = tf.convert_to_tensor(image)
    return image
Next, we define a function to calculate the loss which is simly the average of the activations resulting from doing a forward pass with the input image.
def calculate_loss(model, image):
    image_batch = tf.expand_dims(image, axis=0)
    activations = model(image_batch)
    if len(activations) == 1:
        activations = [activations]

    losses = []
    for activation in activations:
        loss = tf.math.reduce_mean(activation)
        losses.append(loss)

    total_loss = tf.reduce_sum(losses)
    return total_loss
To calculate the gradients, we need to perform a forward pass inside a tf.GradientTape(), after that we simply update the image to maximize the activations in the next run.
Note how we are using the
tf.functionannotation which will improve the performance significantly.
@tf.function
def forward_pass(model, image, steps, step_size):
    loss = tf.constant(0.0)
    for _ in range(steps):
        with tf.GradientTape() as tape:
            tape.watch(image)
            loss = calculate_loss(model, image)

        gradients = tape.gradient(loss, image)
        gradients /= tf.math.reduce_std(gradients) + 1e-8

        image = image + gradients * step_size
        image = tf.clip_by_value(image, -1, 1)

    return image, loss
All the previous functions are combined and used in the following funciton which will take an input image and a model, and construct the final dreaming looking picture.
The other input parameters to this function have the following purpose:
-
octave_scalethe scale by which we'll increase the size of an image -
octave_power_factorsthe factor that will be applied as a power to the previous scale parameter. -
stepsthe number of iteration we run the image over the deepdream model -
step_sizewill be used to scale the gradients before adding them to the image
def dream(dreamer_model, image, octave_scale=1.30, octave_power_factors=None, steps=100, step_size=0.01):
    if not octave_power_factors:
        octave_power_factors = [*range(-2, 3)]
    image = tf.constant(np.array(image))
    base_shape = tf.shape(image)[:-1]
    base_shape = tf.cast(base_shape, tf.float32)
    steps = tf.constant(steps)
    step_size = tf.constant(tf.convert_to_tensor(step_size))

    for factor in octave_power_factors:
        image = scale_image(image, base_shape, octave_scale, factor)
        image, _ = forward_pass(dreamer_model, image, steps, step_size)
        image = convert_tensor_to_nparray(image)

    base_shape = tf.cast(base_shape, tf.int32)
    image = tf.image.resize(image, base_shape)
    image = tf.image.convert_image_dtype(image /255.0,dtype=tf.uint8)
    image = np.array(image)
    return np.array(image)
Now we can apply this DeepDream model to an image, you can pick any one you like.
!curl https://miro.medium.com/max/1750/1*E-S7Y80jIFuZ03xyc89fnA.jpeg -o image.jpeg
def load_image(path):
    image = load_img(path)
    image = img_to_array(image)
    return image
def show_image(image):
    plt.imshow(image)
    plt.show()
original_image = load_image('image.jpeg')
show_image(original_image / 255.0)

First, lets try the image with all default parameters, and activation layers
model = create_model()
output_image = dream(model, original_image)
show_image(output_image)

Let's try with different activation layers
model = create_model(['mixed2', 'mixed5', 'mixed7'])
output_image = dream(model, original_image)
show_image(output_image)

The result is a softer image as a result of adding more layers.
Finally, let's try some custom octaves power factors
model = create_model()
output_image = dream(model, original_image, octave_power_factors=[-3, -1, 0, 3])
show_image(output_image)

The resulting image seem to have less noise and more heterogeneous patterns, a mixture of both high- and low-level patterns, as well as a better color distribution.
As an exercise, try different parameters and you will see that the results vary widely:
- Play with different
step_sizevalues, a big value will result in much noise added to the original images - Use higher
layersto obtain pictures with less noise and more nuanced patterns. - Use more
octaves, which will result into more images passed to the model at different scales.